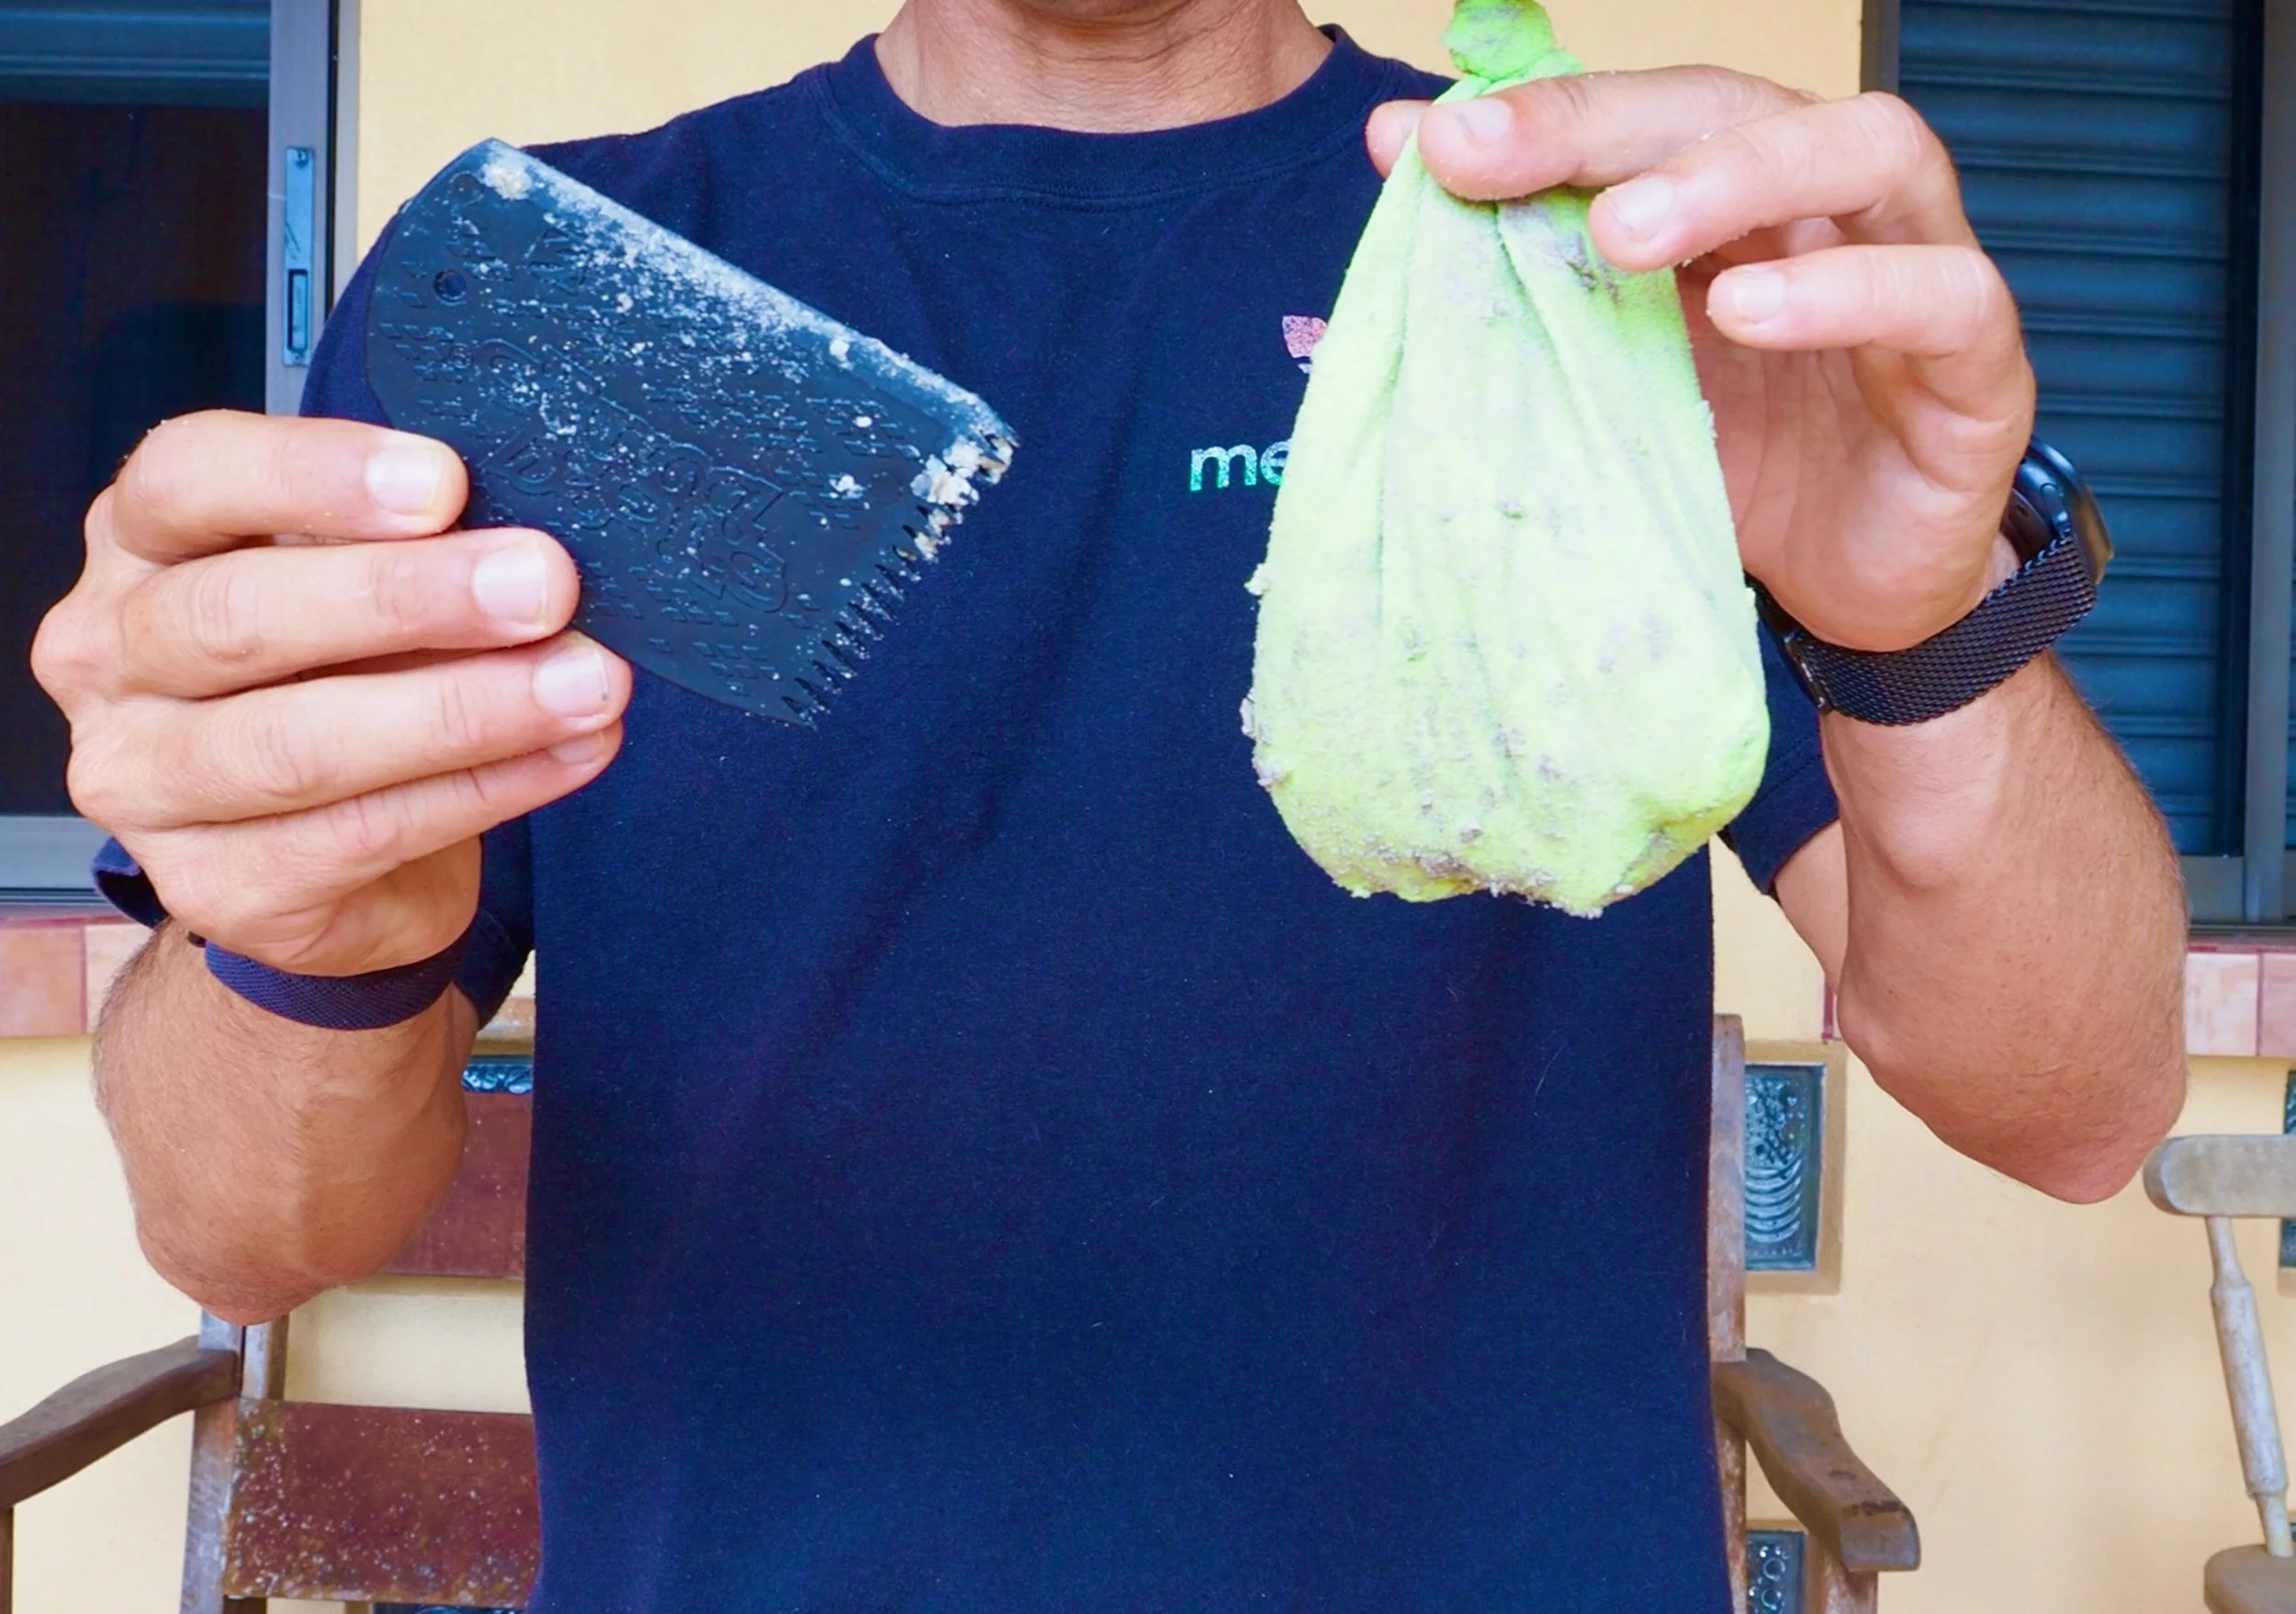
A wax comb and a Pickle wax remover. That's it. Don't use credit cards, ice scrapers, box cutters, or razors — metal tools ding your surfboard. The Pickle is a nylon sock with foam dust that comes with its own wax comb. You can make your own with a nylon sock and fine pumice.
The Rough-and-Ready Method (Quick Temperature Change)
For when you need to quickly change wax temperature and don't have a Pickle.
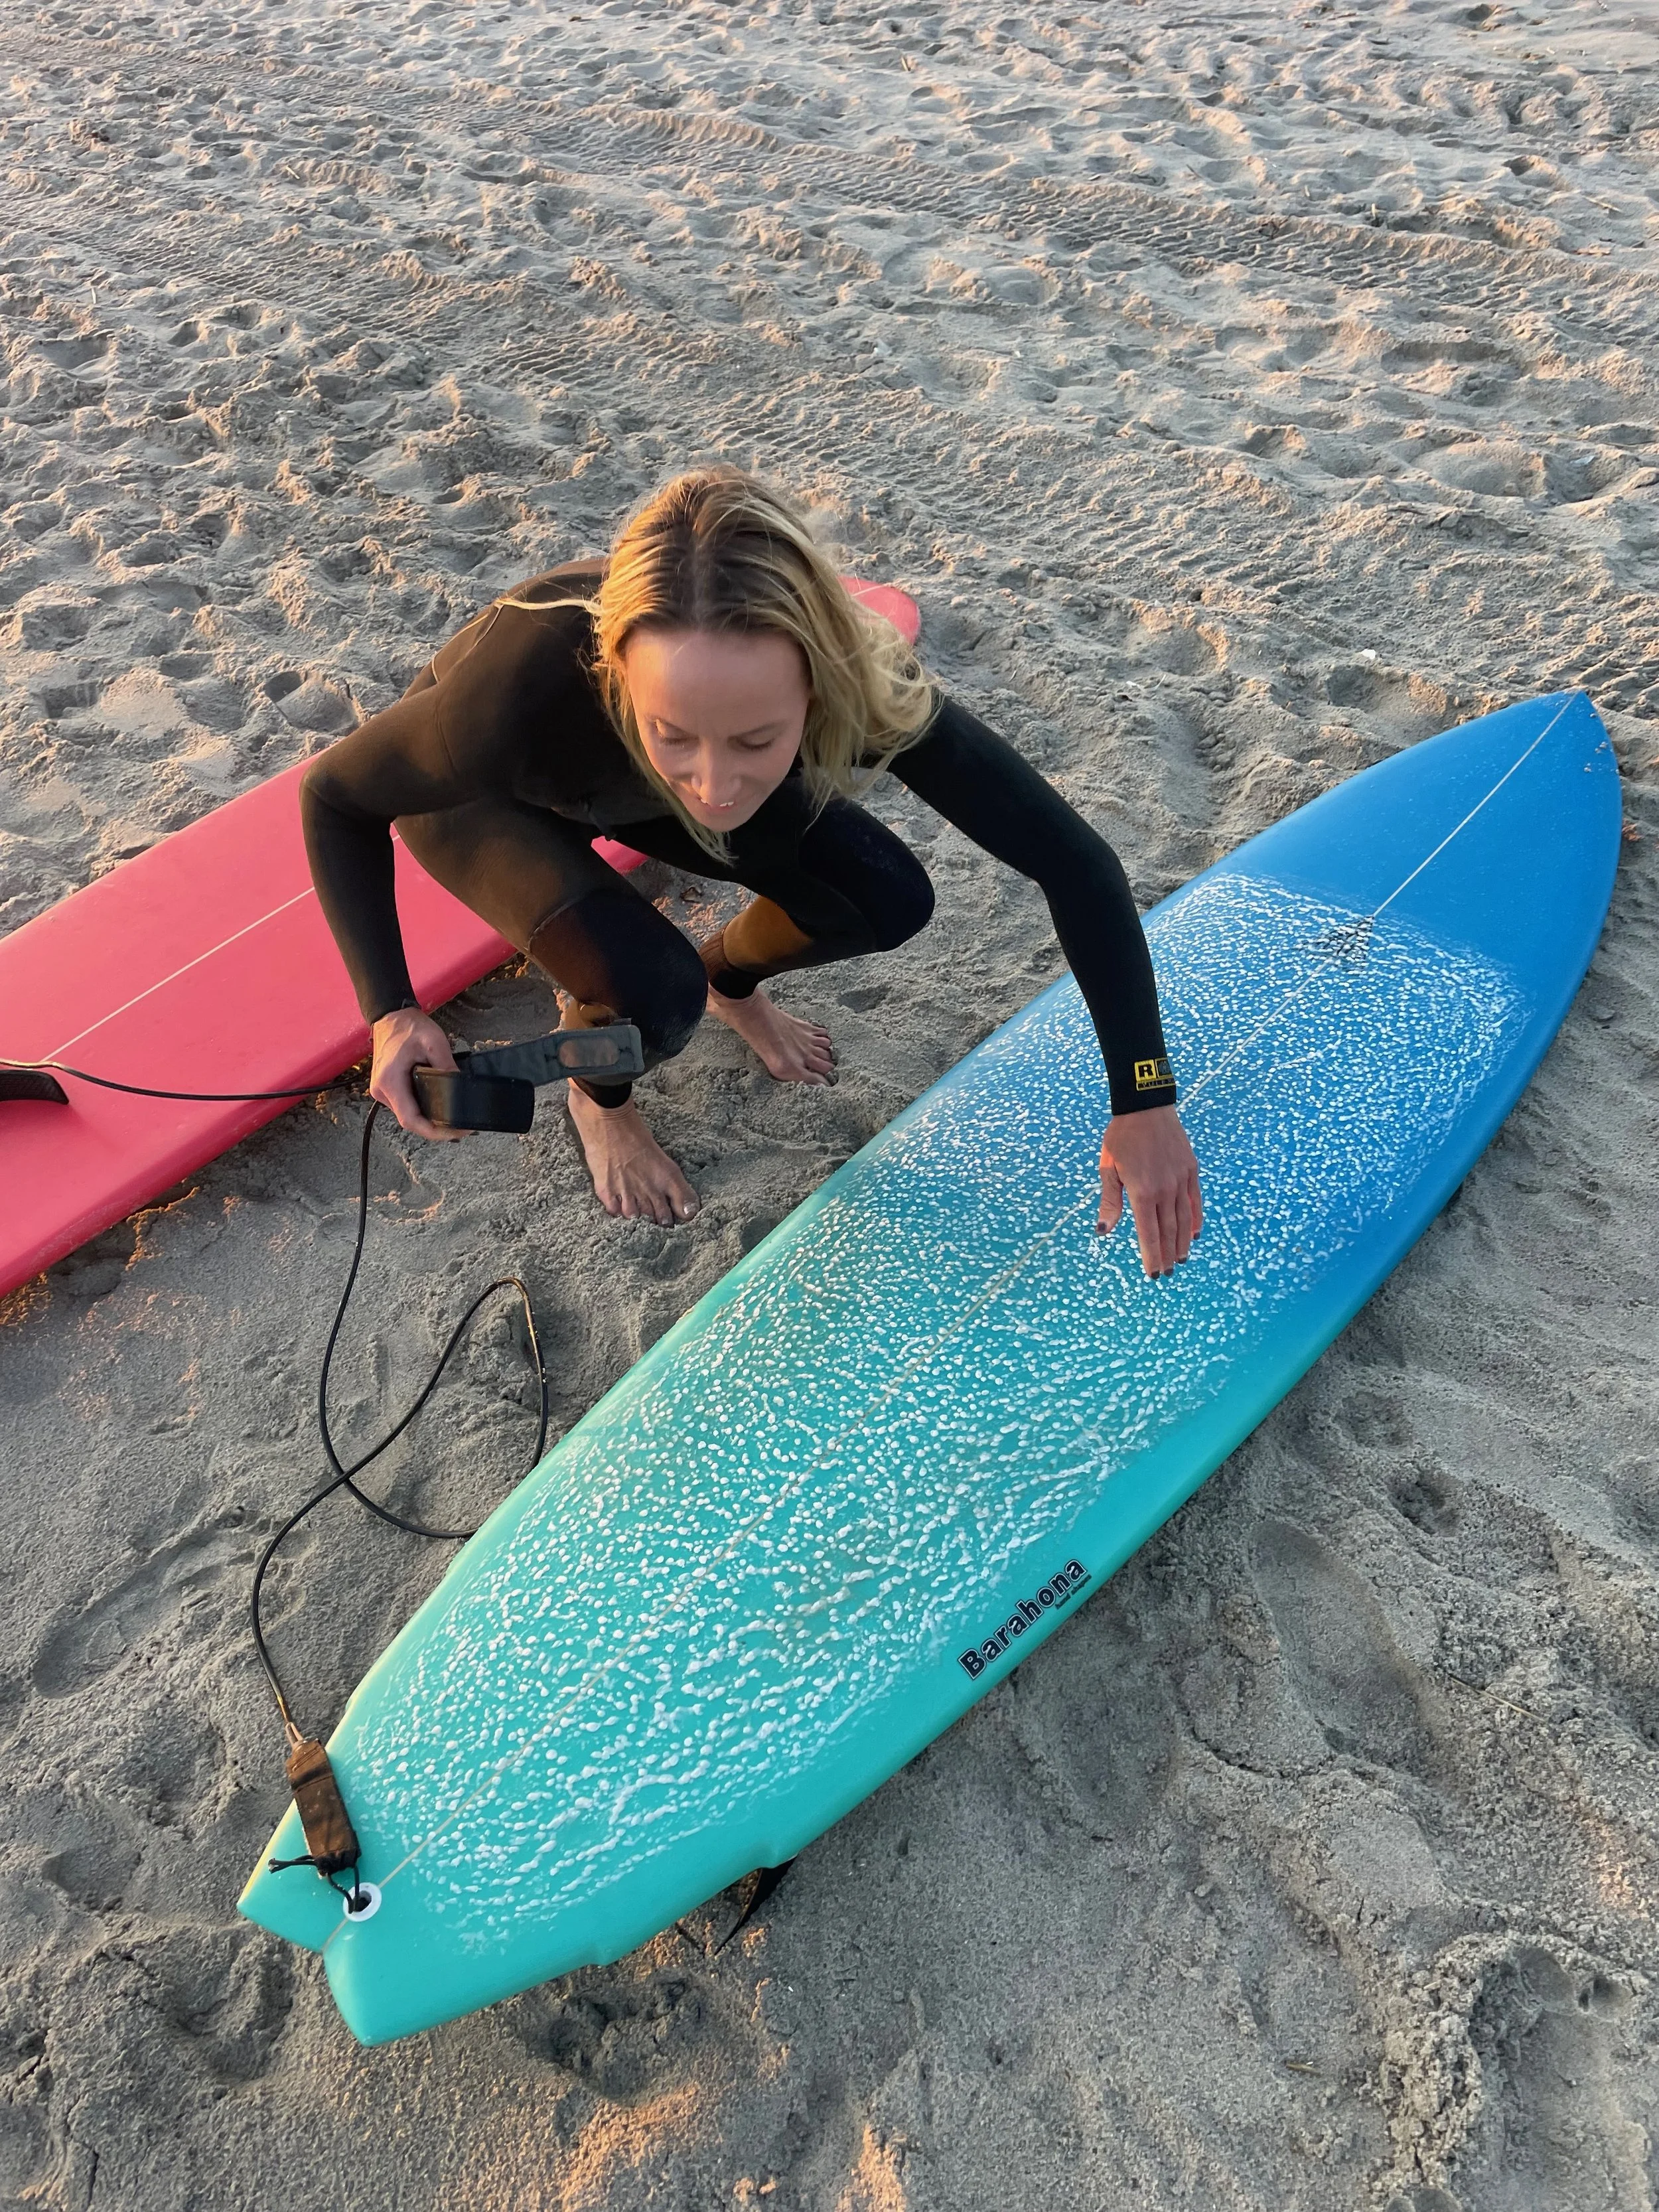
Step 1: Place your board on a soft surface — towel, grass, not concrete or pebbles. Let direct sunlight soften the wax. Clear boards on moderate days take longer than dark boards on hot days. Test softness with the scraper end of your wax comb — it should be pliable but not dripping.
Step 2: Remove as much wax as possible using the flat scraper end of your wax comb. The comb end is for roughing up existing wax when you need texture without fresh wax. The curved end doesn't work for removal — use only the flat scraper.
Step 3: Collect shavings into a ball as you work. Don't let them spread everywhere or get under your board.
Step 4: Dispose of the wax ball in trash. Clean up any remaining dust or shavings in your work area. Leaving wax debris on someone's property reflects on your character, not your surfing ability.
The Proper Method (Annual Re-Wax or New-to-You Board)
Step 1: Same setup — soft surface, direct sunlight, appropriate timing for board color and conditions.
Step 2: Remove maximum wax with the flat scraper end of the comb. Dispose of the wax ball properly.
Step 3: Apply the Pickle like reverse waxing. Work the foam dust thoroughly over the entire board — you'll see film coming off in places you didn't expect. Use it on the nose, tail, rails, and bottom, especially if you use board socks. The board will look shiny afterward and reveal pressure dings previously hidden under grime.
Step 4: Remove any remaining Pickle dust with a towel or paper towel. Windex works for a truly pristine finish.
The Critical Temperature Rule for Removal
When returning from a tropical surf trip to cold water, you do NOT need to remove your wax first. You can put cold water wax directly over a tropical base layer. However, you cannot put tropical wax over cold water wax — the harder formula will peel the softer wax right off. Going from warm to cold: wax straight over. Going from cold to warm: strip and start fresh.
Removal Mistakes to Avoid
Don't skip scraping first — if you don't remove enough with the comb, the Pickle step becomes much harder. Don't let the wax get so hot it drips like a candle. And never use metal tools on your board.
How to Wax a Surfboard: Step by Step
With a clean board ready, here's how to wax it properly.
Setting Up Your Basecoat
For a fresh, clean board — whether polyurethane or epoxy — start with basecoat. One bar is more than enough for any size surfboard.
Step 1: Prepare your workspace. Find a shady spot where you can lay your board deck-up without risk of dings. A board rack is ideal; a towel on a hard surface works fine. Avoid direct sunlight — you're working against yourself if the wax is melting as you apply it. It's perfectly normal (and practical) to do your first basecoat at home, in the parking lot, or anywhere out of the sun.
Step 2: Clean the board. Wipe off any dust, sand, or debris. Wax won't adhere properly to a dirty surface.
Step 3: Begin application. Using the edge of your wax bar, start just in front of the leash plug at the tail. Make large, relatively fast circular motions.
Step 4: Work the surface. You'll feel the wax drag and catch on the slick surface initially — this is normal. You should start seeing a film appear. If you're struggling to get any purchase at all, make a few horizontal and vertical strokes to lay down a thin film first. Once there's minimal wax on the surface, the circles become much easier.
Step 5: Build the bead. Stick with those large, fast circles. You should see small bumps forming on the deck — this textured surface is exactly what you're after. It's what provides actual traction.
Step 6: Cover the riding area. Continue until you've covered the appropriate section of the board. See below for how much to wax by board type.
Step 7: Check for evenness. Make sure coverage is consistent across the entire waxed area. Any sections that are still just filmy need more circles. Run your hand across the waxed area — it should feel evenly textured with tackiness. If it slides smoothly, you need more coverage.
Adding Your Topcoat
Topcoat application follows the same technique but will feel easier since you're working over the basecoat foundation. Start at the tail and repeat those large, fast circular motions with your temperature-appropriate topcoat over the entire waxed area. Once covered, you're ready to surf.
How Much of the Board to Wax (by Board Type)
This is where most guides give you a single generic answer. The actual answer depends on the board you're riding.
Beginner fun boards and hybrids (7'0"–8'6"): Wax three-quarters of the board, or the whole thing. You won't walk to the nose on one of these, but waxing all the way up costs nothing and gives you flexibility as you progress. Wax all the way to the rails — your hands go there during paddling and pop-ups.
Longboards (8'0" and up): Wax the entire board, nose to tail. Part of this is functional — if you're learning to nose ride, you need wax up there. Part of it is aesthetic — a longboard with wax only halfway up just looks wrong. It signals that you're not really surfing the whole board, which on a log, you should be.
Shortboards: Three-quarters to seven-eighths of the board, depending on your surfing. If you're doing airs and need foot placement on the very tail, go further back. If you're not doing airs, stopping at three-quarters is fine. Don't wax past the leash plug — there's no surfing happening back there.
Fishes: Same range as shortboards — three-quarters to seven-eighths. Some surfers wax the full fish, which is fine on a standard fish shape, but waxing up to each tail triangle on a swallow tail usually looks odd. But if you have a strong argument that the board actually does like to be surfed with your feet that far back, it’s valid.
Mid-lengths (6’3"-7’6” relatively retro shapes): Wax the whole board. Mid-lengths are designed to be surfed from multiple positions, and restricting your wax restricts your movement. You want the full deck available.
Don't forget to push your wax job to the rails in every case. Your hands grab the rail on every pop-up and every duck dive. A slippery rail will telegraph straight to your takeoff.
Wax Technique: Circles, Sound, and Pressure
The method I prefer — and have used for 30 years — is large circular motions from the start. I never cross-hatch. The key is not pressing too hard; heavy pressure smears the wax rather than building bead. The circular motions should create a distinctive sound that will signal to anyone within earshot that you know what you're doing.
Cross-hatching can help if the wax isn't going on — it creates initial surface texture that makes the circles easier to establish. But stopping there, with an elaborate cross-hatch design, signals kook. Surfing is fundamentally about circular fluidity rather than horizontal and vertical angularity. Find the flow.
A Note on Sticky Wax Layering
Speaking of Kelly Slater — in that same Stab in the Dark episode, he described his personal method as a three-layer system: basecoat first, then a super-sticky wax like Fu Wax, then a medium or harder wax on top to "seal in" the stickier layer underneath. The logic is that the Fu provides extreme grip while the top layer protects it from wearing off too fast.
I've never tried this method, but the man has 11 world titles and a reputation for being meticulous about his equipment. If you want your feet to feel genuinely locked in, it might be worth experimenting with.
My personal preference is simpler: basecoat, then whatever temperature-appropriate topcoat is called for, nothing overly sticky. I don't do airs. I don't want to slip, but I also don't want wax transferring all over my wetsuit and leg hair every session. Clean, functional grip is the goal — not being glued to the board.
How to Wax a Foam Surfboard
Some foam boards need wax, and some don't. Check yours first — if it has a textured or padded surface, additional wax might actually make it slippery. If it has a smooth foam surface, you'll likely need wax.
When you do wax a foamie: skip the basecoat (foam surfaces don't need it, and basecoat can make the surface too slick), use minimal topcoat with very light pressure, and test as you go — some foams become extremely grippy with just a little wax.
One critical thing: if you wax a soft top, you commit to never removing that wax. Wax sinks into the porous foam surface and doesn't come off. The removal methods above apply to polyurethane and epoxy boards only.
Common Wax Mistakes
Not waxing all the way to the rails. Your hands go there during paddling and pop-ups. This is one of the most common beginner errors.
Using the wrong temperature wax. Cold water wax in warm conditions melts into a mess. Warm water wax in cold conditions stays too hard to grip. The mismatch is more impactful than most people realize.
Applying too much pressure. Heavy pressure smears the wax. You're building bead, not coloring in a crayon.
Skipping basecoat. Especially with cold water wax, which is soft and prone to smearing without a solid foundation underneath.
Mixing wax temperatures incorrectly. Never put warm water wax over cold water wax — the harder formula will peel the softer wax right off. Cold over warm is fine.
Waxing the bottom of your board. I call this a "republican wax job" because republicans do everything wrong (at least in America). Use a Pickle or wax remover to fix it.
Waxing on rocks or pebbles. You'll ding the bottom. Wax on a towel, your board bag, or in sand wax-side up.
Waxing after you surf instead of before. No one does this. Wax before the session.
Showing up with no wax at all. It happens. Don't let it happen to you.
Sand and Sun: The Two Enemies of a Good Wax Job
Sand gets into everything. Don't drop your wax bar in the sand, don't bring your board home caked in it, and don't place it wax-side down in the sand before you surf (after surfing is fine). Rinse the sand off in the whitewater as you paddle out, and rinse again before heading back to your car. Sand in the wax is a mess and a slow-motion ding delivery system.
Sun melts wax of every temperature. Do not leave your board wax-side up on the beach, in your car, or in direct sun. I've seen people set their board down to buy a coconut and return to find the wax has melted all the way off the deck and dripped over the rails. If your board or wax bar gets too hot, dip it in the water to harden up before you start your wax job.
Wax Maintenance Between Sessions
Light touch-ups before each session are all you need most of the time — a few circular passes with your topcoat to refresh tackiness. I personally do a full wax change only one or two times a year, primarily for temperature reasons (stripping winter wax in late June to go fresh with tropical, then back in the fall).
Wax combs: I never use the comb end during normal maintenance. It's a rescue tool for desperate moments when you need more grip but have no fresh wax — you can rough up the existing surface with the comb to add temporary traction. Otherwise, use the flat scraper side when removing old wax. Store your board somewhere cool and shaded between sessions.
Wax On, Wax off
Waxing is simple in concept but crucial in execution. Beyond the functional necessity, knowing how to wax properly — the right temperature, the right technique, the right amount for your board type — demonstrates a command of the basics that the lineup will notice. It's also an essential travel skill: every surf trip you take will involve at least one wax decision. Whether you're surfing Rockaway in January or Costa Rica in July, understanding the full wax lifecycle means one fewer thing standing between you and a good session.
Have questions about waxing, equipment, or surf technique? The Dr. Dion's Surf Secrets zine covers this and a lot more, delivered weekly. Or book a Surf Journey Assessment to get personalized coaching advice.
Videos to help you out